Record a training take
Capture or import a take for the open score so Trainer can calibrate it and Follow can replay it.
A take is a recording of the open piece, stored with that piece. Trainer
calibrates against it in step 3 — Calibrate, and the Replay a take mode in
Follow can play it back against the score. There is no separate training
button: every saved take is already training material.
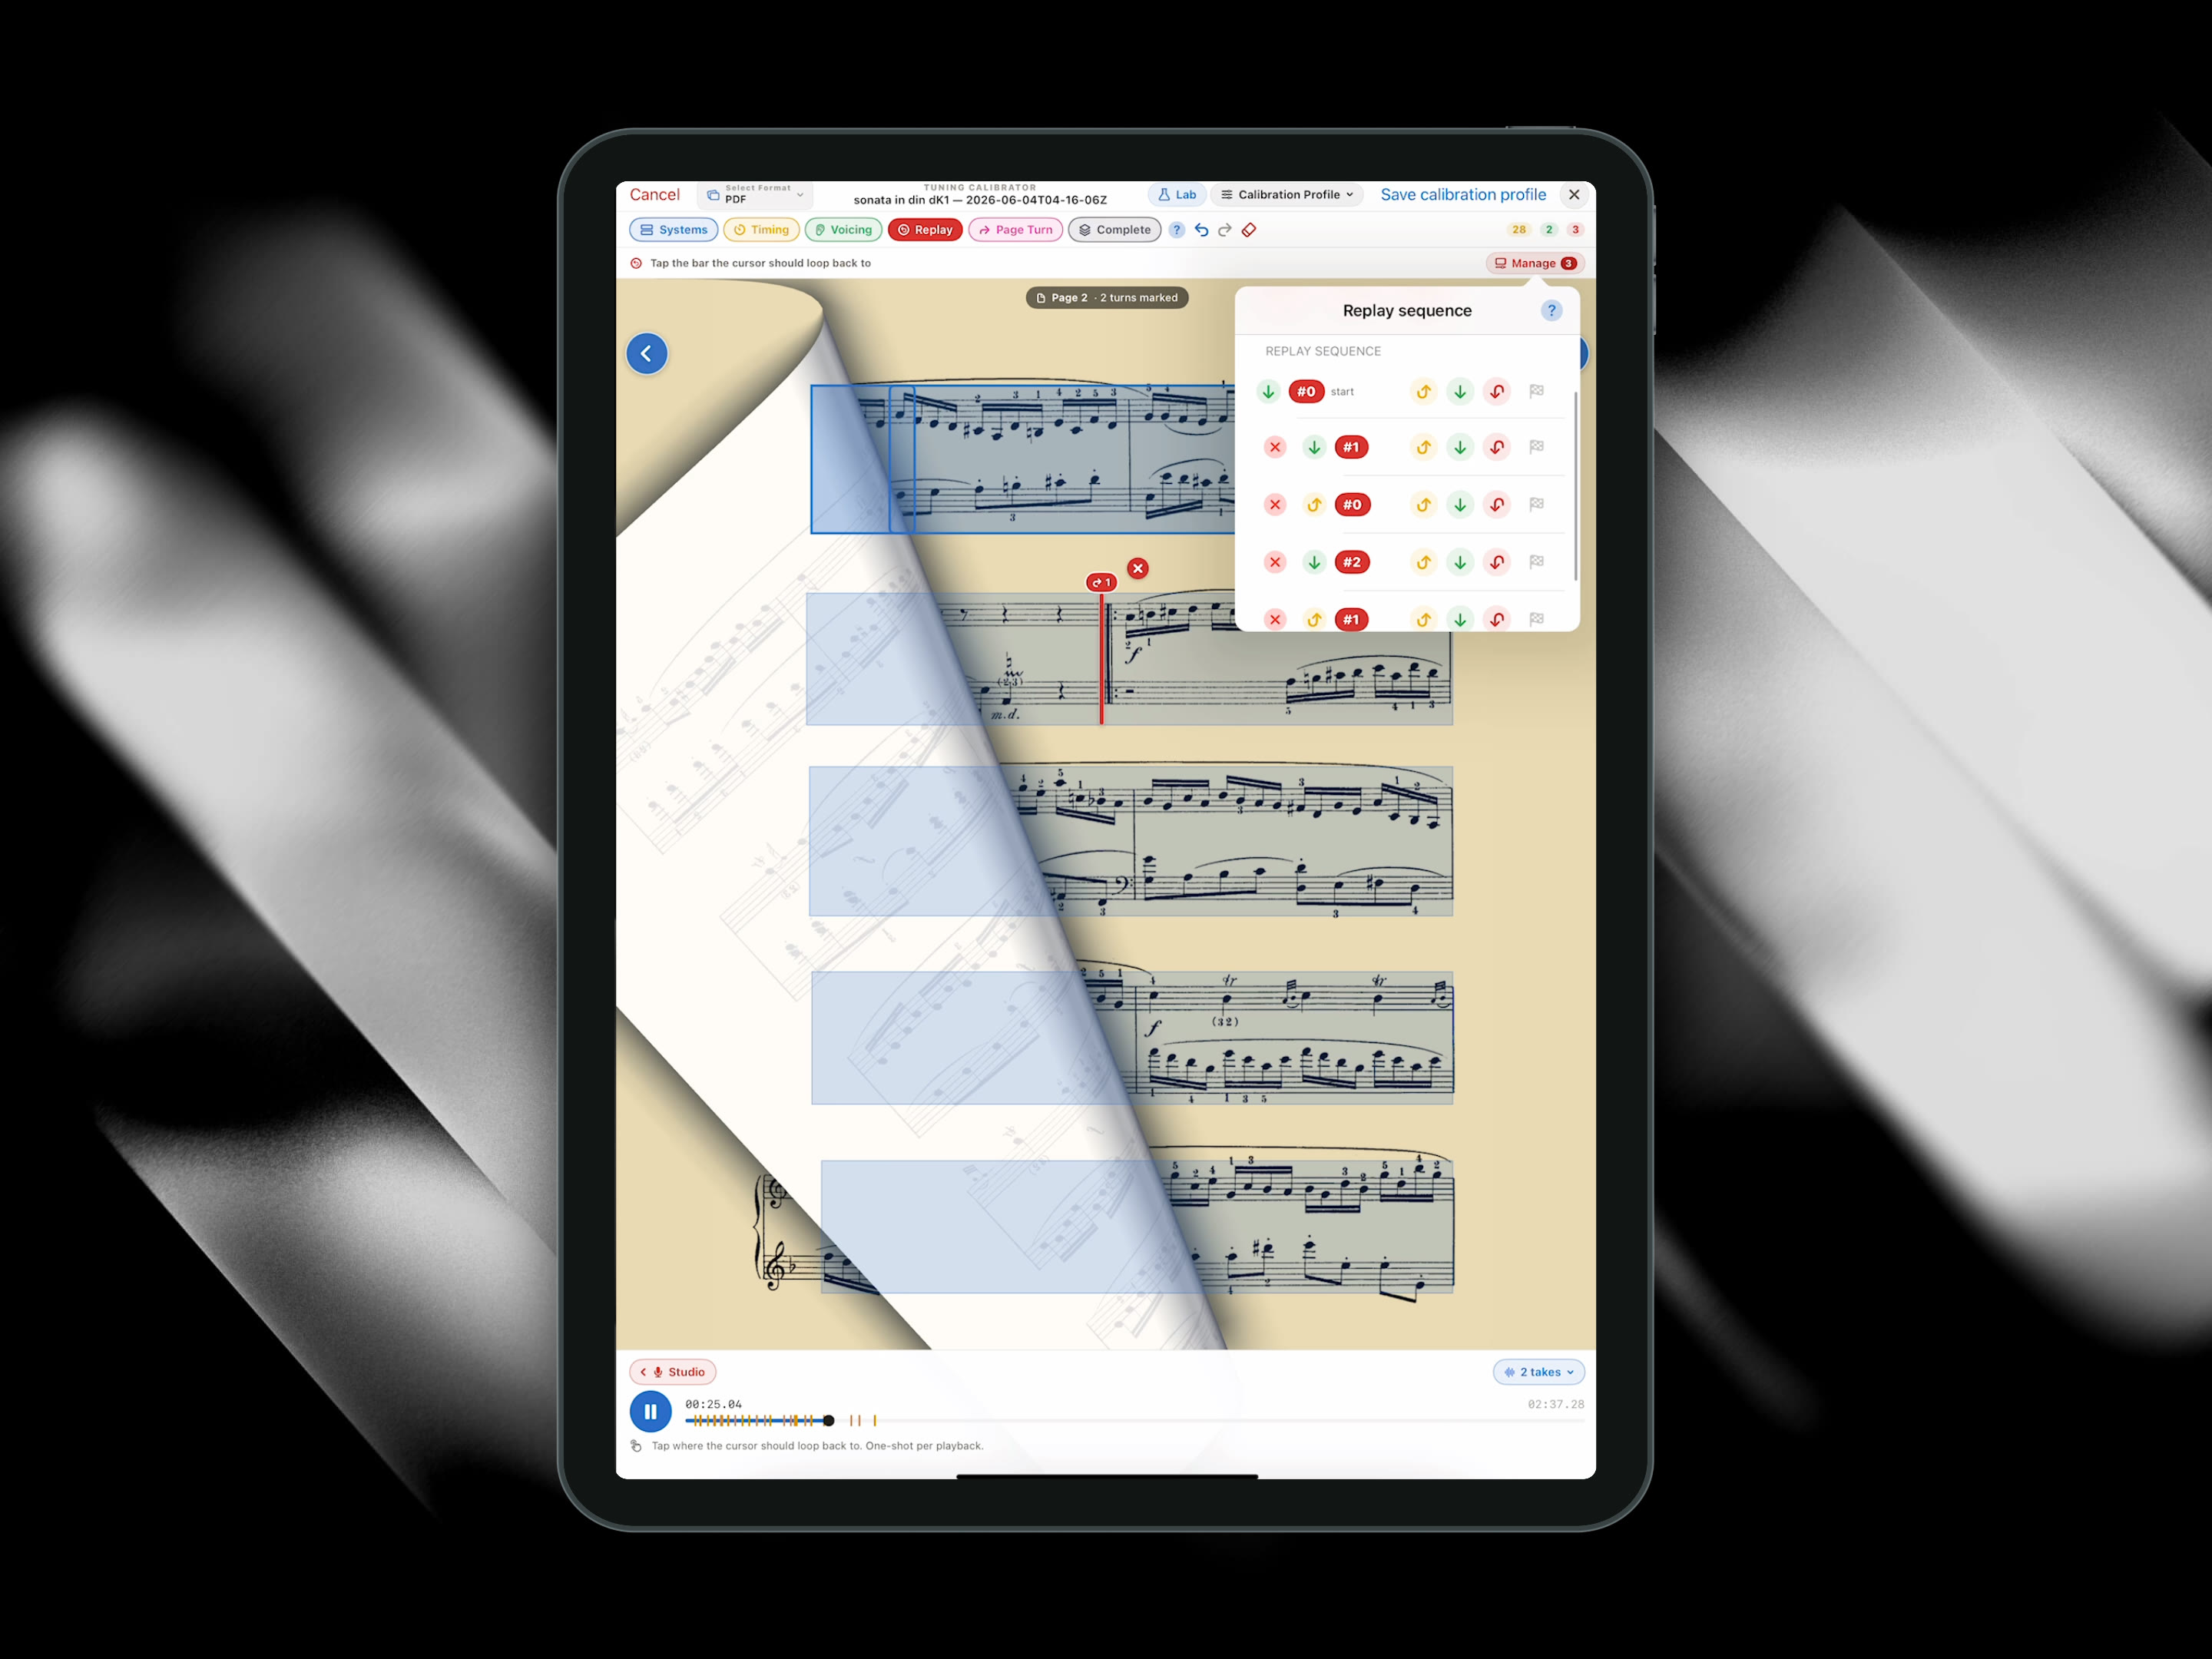
A saved take can be replayed against its calibration before live use.
Record in the Studio
- Open the piece and the score version you intend to use with Follow. Calibration is tied to the take and the version it was recorded against.
- Select
Trainer(the dumbbell icon beside theFollowcontrol in the reader toolbar). In step2 — Studio, selectOpen Studio. The same recorder also opens fromToolbox›Recording Studio. - Allow microphone access if iPadOS asks. See Permissions.
- Tap the round record button and play the piece through. The elapsed time and the live pitch readout (note name and Hz) confirm the Studio hears the instrument.
- Pause and resume if needed — pausing keeps the take open. Use the retry control to discard and re-record in one step, or the trash control to discard without keeping anything.
- Tap the record button again to stop and save. The Studio header changes to
Take saved, withPlayto check the capture andCalibrateto continue directly.
The take now appears under My Takes, step 2 in Trainer shows a
check, and the Takes status chip fills in. One clean, complete pass is
enough; keep the device in a stable position and avoid speech or unrelated
playback during the capture.
Important Do not start a second audio source while recording. Take playback, Follow, the tuner, embedded recordings, and the Studio share the device audio session and can interrupt one another.
Limit A Bluetooth headset microphone is never used for capture. Recording uses the iPad microphone or a wired input; a connected USB audio interface is selected automatically when available.
Check the take in Trainer
Step 2 — Studio lists each take with its file size and calibration state:
Not calibrated yet— recorded, but not yet aligned to the score.Automatic calibration saved—Auto-calibratehas run for this take.Calibration saved · open— a manual PDF calibration exists; selecting it reopens the calibrator on this take.
Each row has a selection circle (the take step 3 will calibrate), a play
button, a wand button that auto-calibrates that specific take (filled once
done), a share button, and a delete button. Play the take once from its row to
confirm the correct performance was captured before calibrating.
If step 3 shows Record a take in Step 2 first, no take is saved yet for
this piece.
Import a recording instead
If a usable recording already exists, open the piece's properties and select
Import Recording to pull an audio or video file from Files or iCloud Drive.
It appears under My Takes alongside recorded takes. Recordings downloaded
from authorized sources keep their licence metadata and are listed separately
from My Takes.
Limit Imported recordings calibrate locally and manually by default. The cloud
Auto-calibratepath accepts them only under a Public Domain, CC0, CC BY, or CC BY-SA licence, and only once the service confirms uploads are deleted after processing. A blocked take showslocal/manual onlyin its row, and theAuto-calibratebutton readsImported recording: manual/local until legal upload is available.
Delete a take
Takes are listed under My Takes in the piece's properties, where they can
be played, renamed, or deleted.
Important Deleting a take also deletes every calibration file tied to it — timing anchors, repeats, page turns, and voicing. Re-recording the take means recalibrating it.
For general-purpose recording and take management, see Recording Studio. To calibrate the take you just saved, continue with Prepare a score for Follow.
Did this page answer your question?
One tap. No message or account required.
Last reviewed 2026-07-18 · Beta · build 314